:quality(75))
:quality(75))


:quality(75))
Do you want to animate your .svg files?
SVGs, or scalable vector graphics, are vector-based, meaning they can be scaled to any size without losing quality. They’re ideal for responsive design because they maintain clarity at any resolution.
From a performance perspective, .svg files are also typically smaller than raster images, which helps keep your website’s load time fast. Unlike high-resolution videos or .gifs, animated .svg files are the key to including complex animations in your projects without significantly impacting performance.
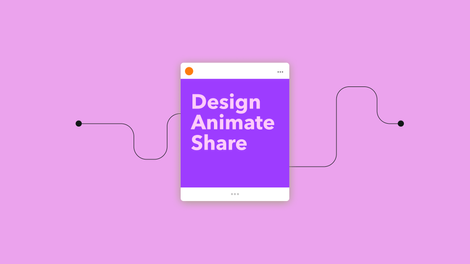
New-age animation software like Linearity Move is your partner in creating .svg animations. The platform is designed with the modern designer in mind, offering tools that simplify the animation process while providing complete control over every detail.


Improve user engagement with SVG animation
Before diving into the nuts and bolts of animating an .svg, it's crucial to understand why and when to use this format. Unlike traditional raster image formats, .svg images scale without losing quality. This makes them ideal for logos, icon design, and complex illustrations that need to adapt to different screen sizes.
When considering .svg animation for your project, consider its purpose. Is the animation intended to direct user attention, enhance storytelling, or illustrate a complex process in an easy-to-understand visual format?
Once you’ve worked out the purpose of your animation, let it guide your design process and ensure that the animation adds value to your user's experience rather than distracting from it.
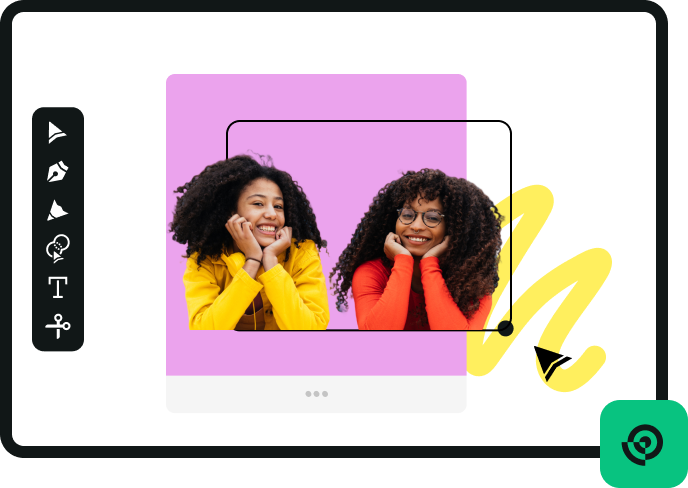
Open your .svg using Linearity Curve
There are two options available to you when animating a .svg using Linearity.
OPTION 1
Recent updates to Linearity Move just made the platform a whole lot more versatile. Now, you can seamlessly import SVG files by simply dragging and dropping them into the import screen, making it easier than ever to bring in animation-ready assets from anywhere.
OPTION 2
Start animating your .svg by opening your design in Linearity Curve. If you haven’t downloaded Linearity Curve to your device yet, get started below:
Jumpstart your ideas with Linearity Curve
Take your designs to the next level.
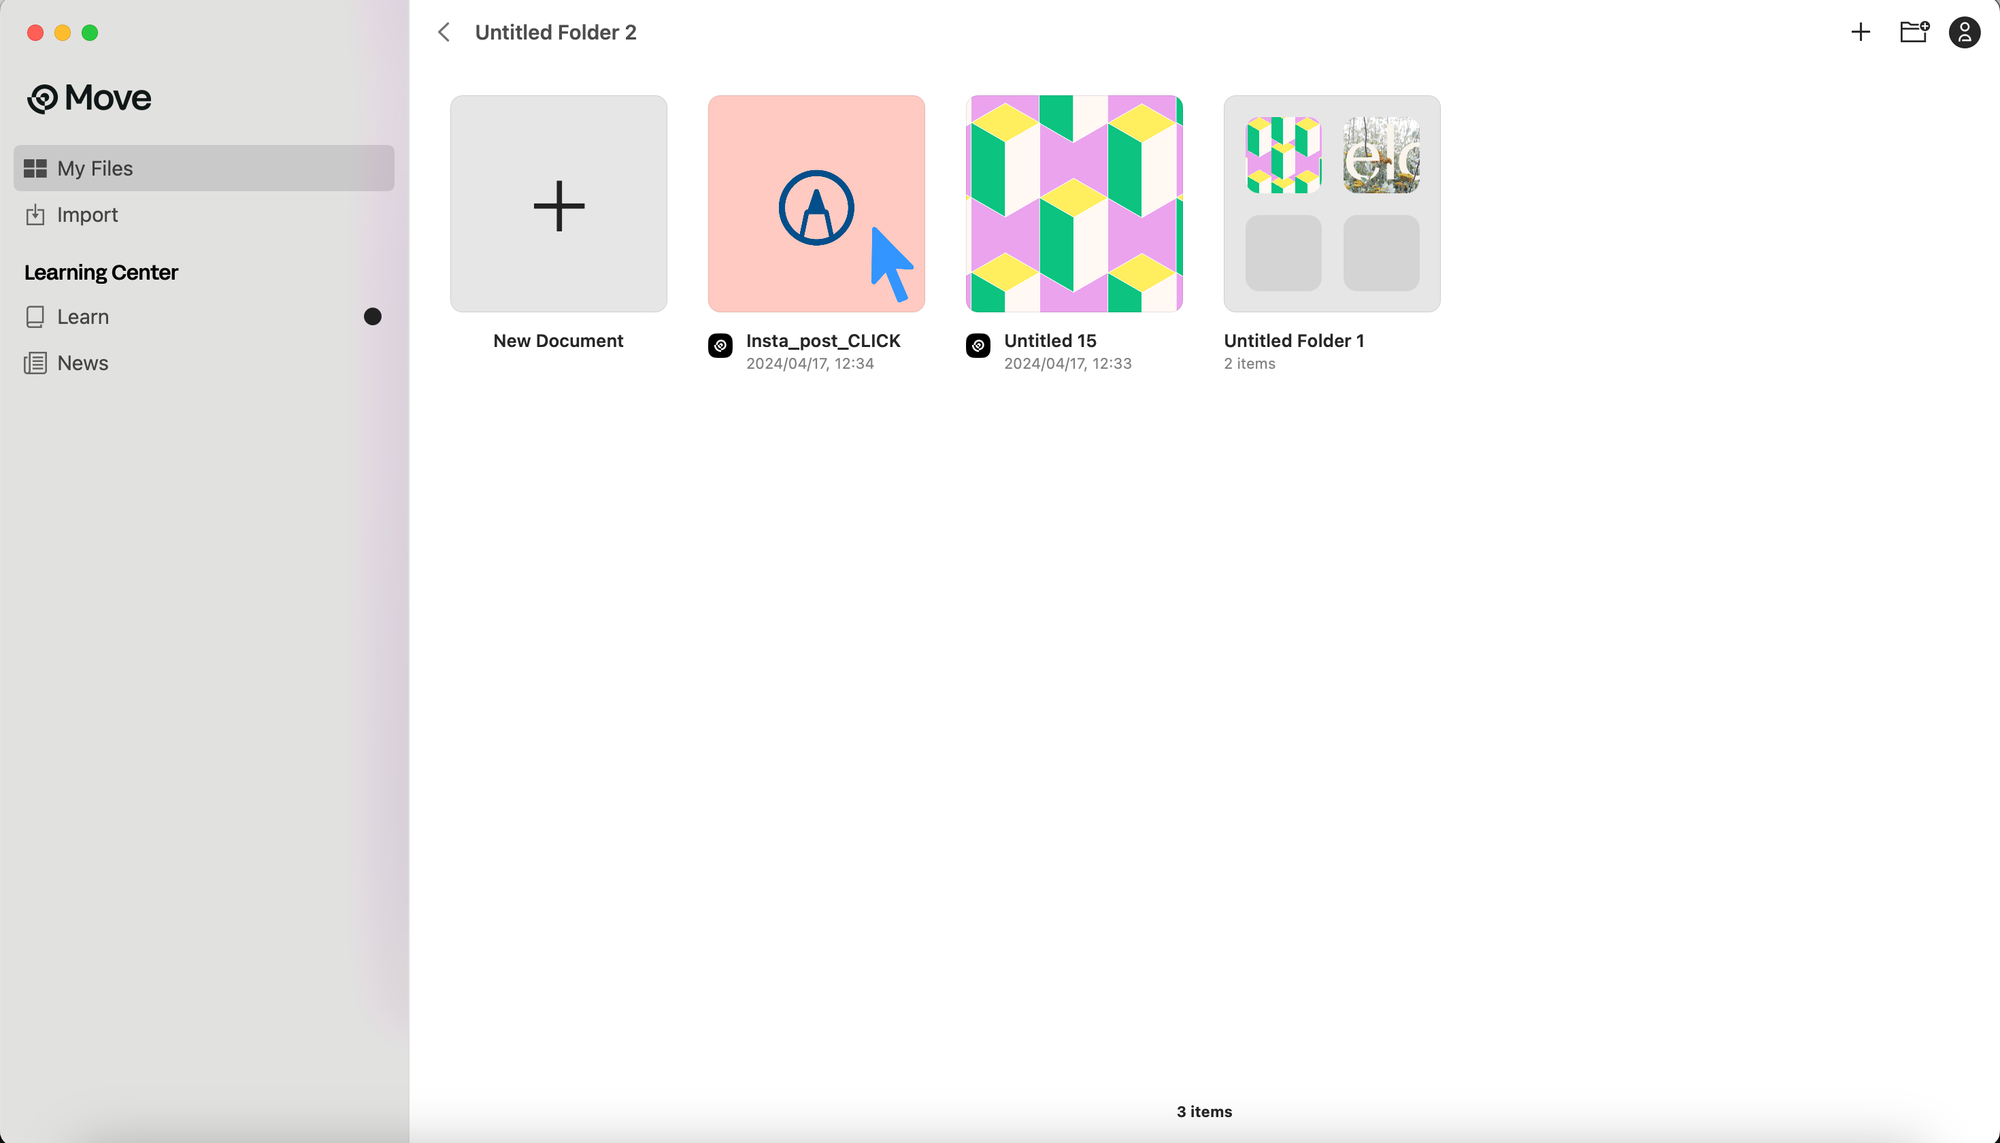
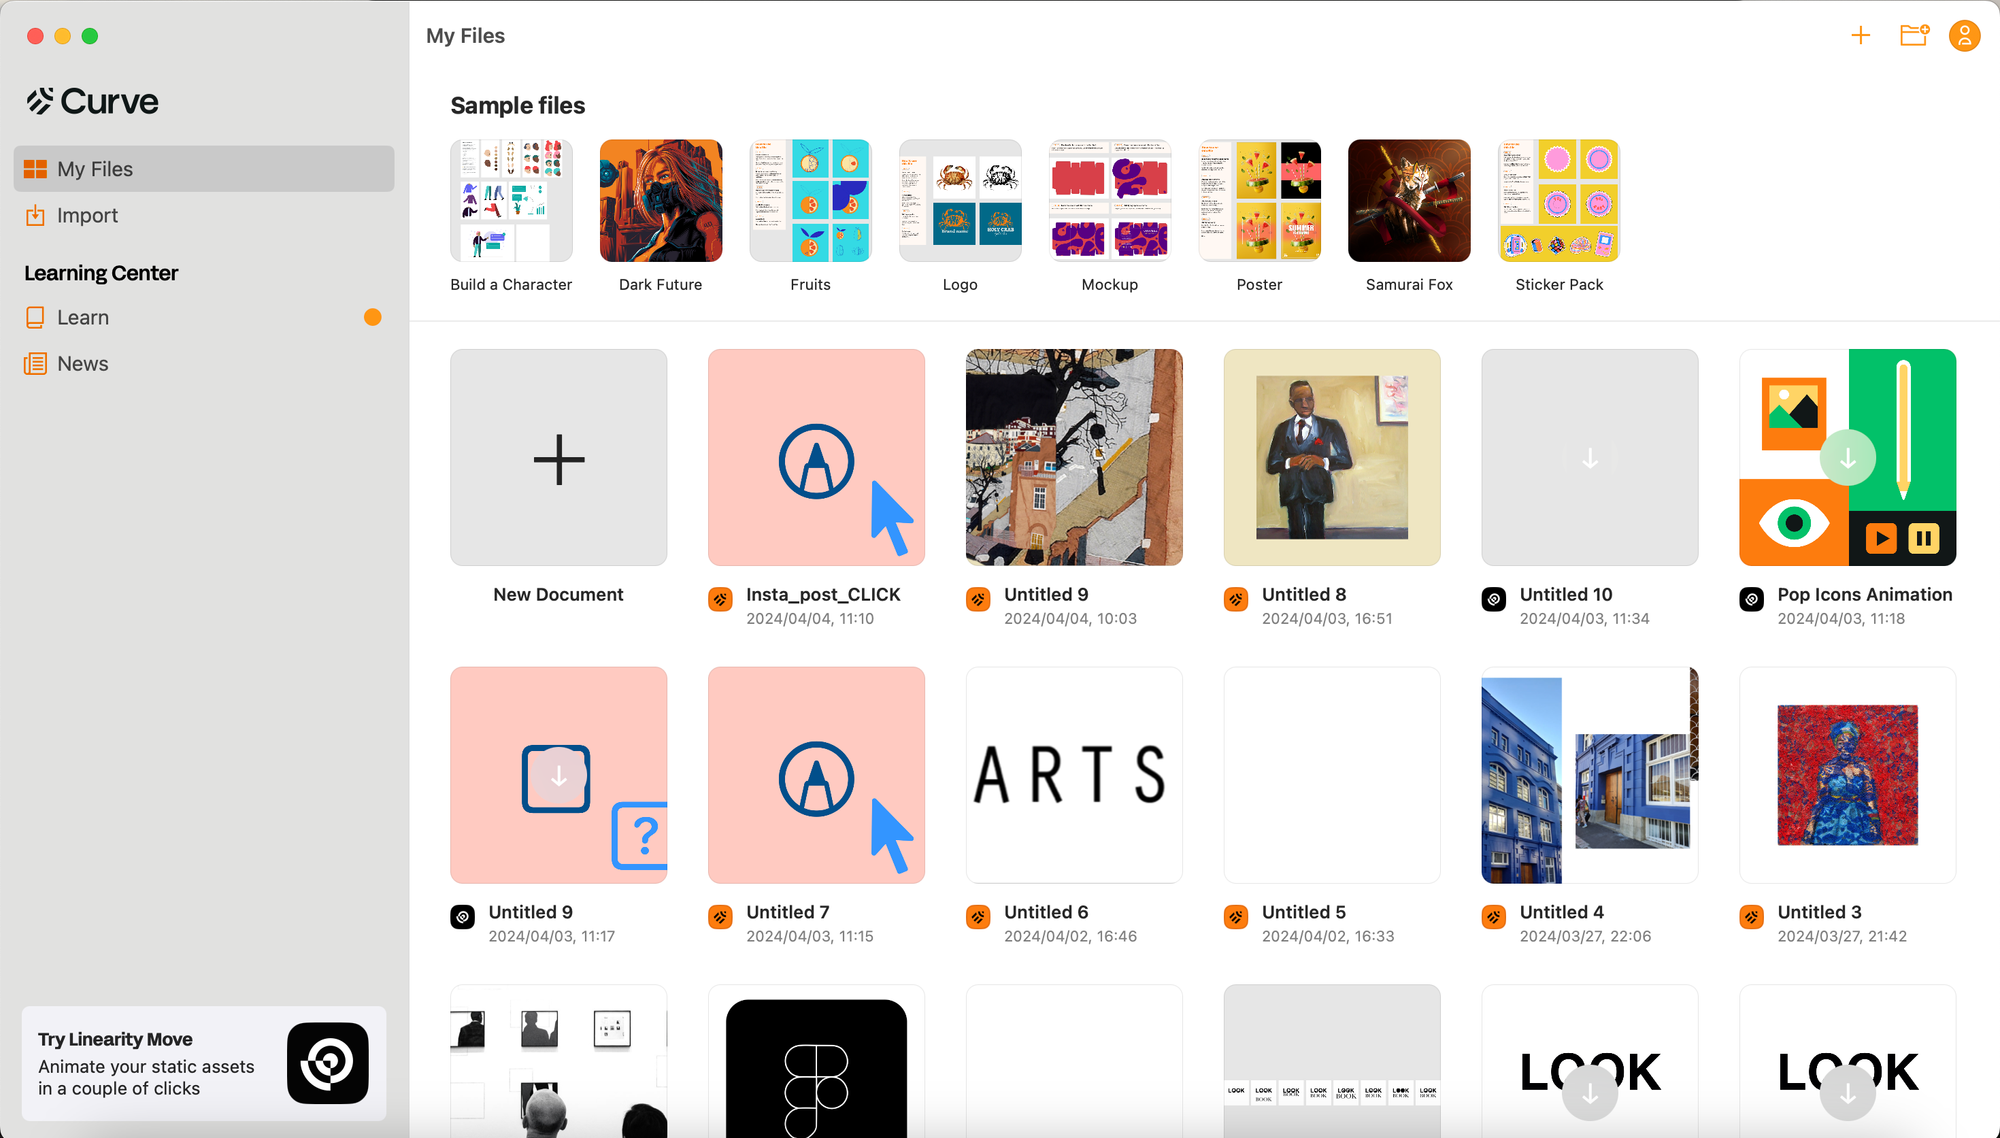
Launch Linearity Curve and select Import in the top toolbar of your home screen. Alternatively, select the import option directly from your dashboard in the left panel (just below My Files) of your Homescreen Gallery.
Select the .svg file you want to animate in your folders. This will automatically open the file and add it to your dashboard, where you can conveniently find it later.
Storyboard your animation
Next, pre-animate the .svg using Linearity Curve. This will let you to make the most of Linearity Move’s automations later.
To do this, we need to work with Duplicate Artboards. Select the Artboard with your design, right-click to open the context menu, and select Duplicate. This creates a copy of your duplicated Artboard that will be inserted on its right side.
Replicate your original design across three Artboards in total. Introduce slight modifications on each Artboard, progressively building towards your final animation goal. Think about it like you’re planning out a storyboard.
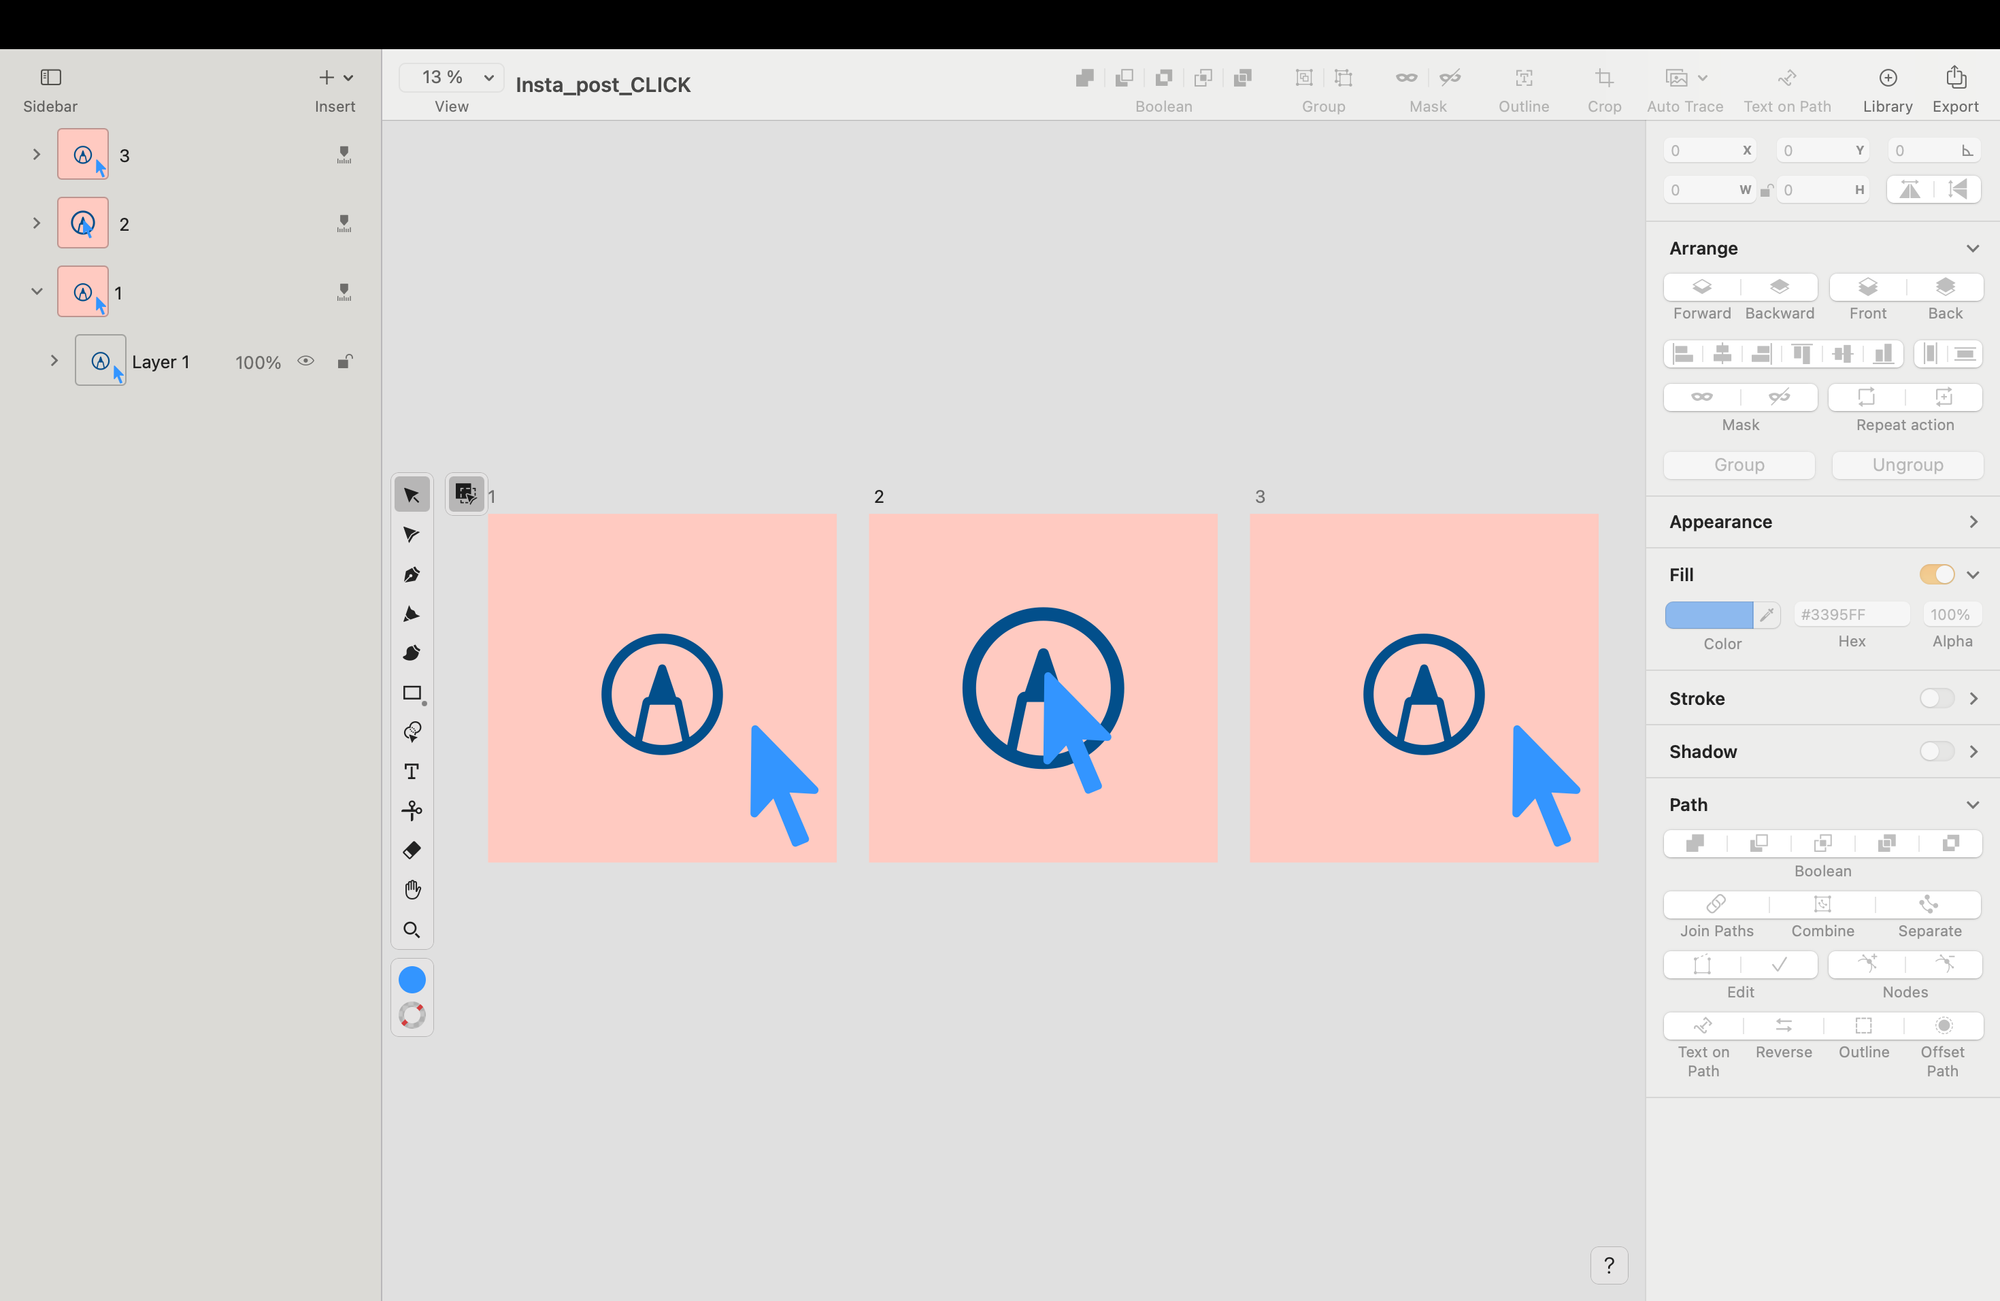
For example, start by moving an element in the second frame and then back to its original position in the subsequent frame. This process should culminate in a final scene with all your elements in the desired position.
Once you’re happy with your design, and before you hit save, ensure each Layer and distinct element has a unique, recognizable name. This ensures that you, and Linearity’s software, can quickly locate the correct element when making adjustments in Linearity Move.
Once everything is nicely named and organized, simply save your work. Your file will automatically upload to your Linearity Cloud, making it easy to access in Linearity Move.
Open the file in Linearity Move
With your .svg animation ready, it’s time to bring it to life in Linearity Move.
Launch Linearity Move and log in. If you're new, sign up to get started.
From the Homescreen Gallery, choose the .curve file you created of your .svg earlier.
In the Import Panel, you'll see a thumbnail of each Artboard in your .curve file. Drag and drop all your Artboards onto the Scene Builder line, where you can organize and manipulate the various scenes of your animation.
Select Import once the boards have been added to the Scene Builder.
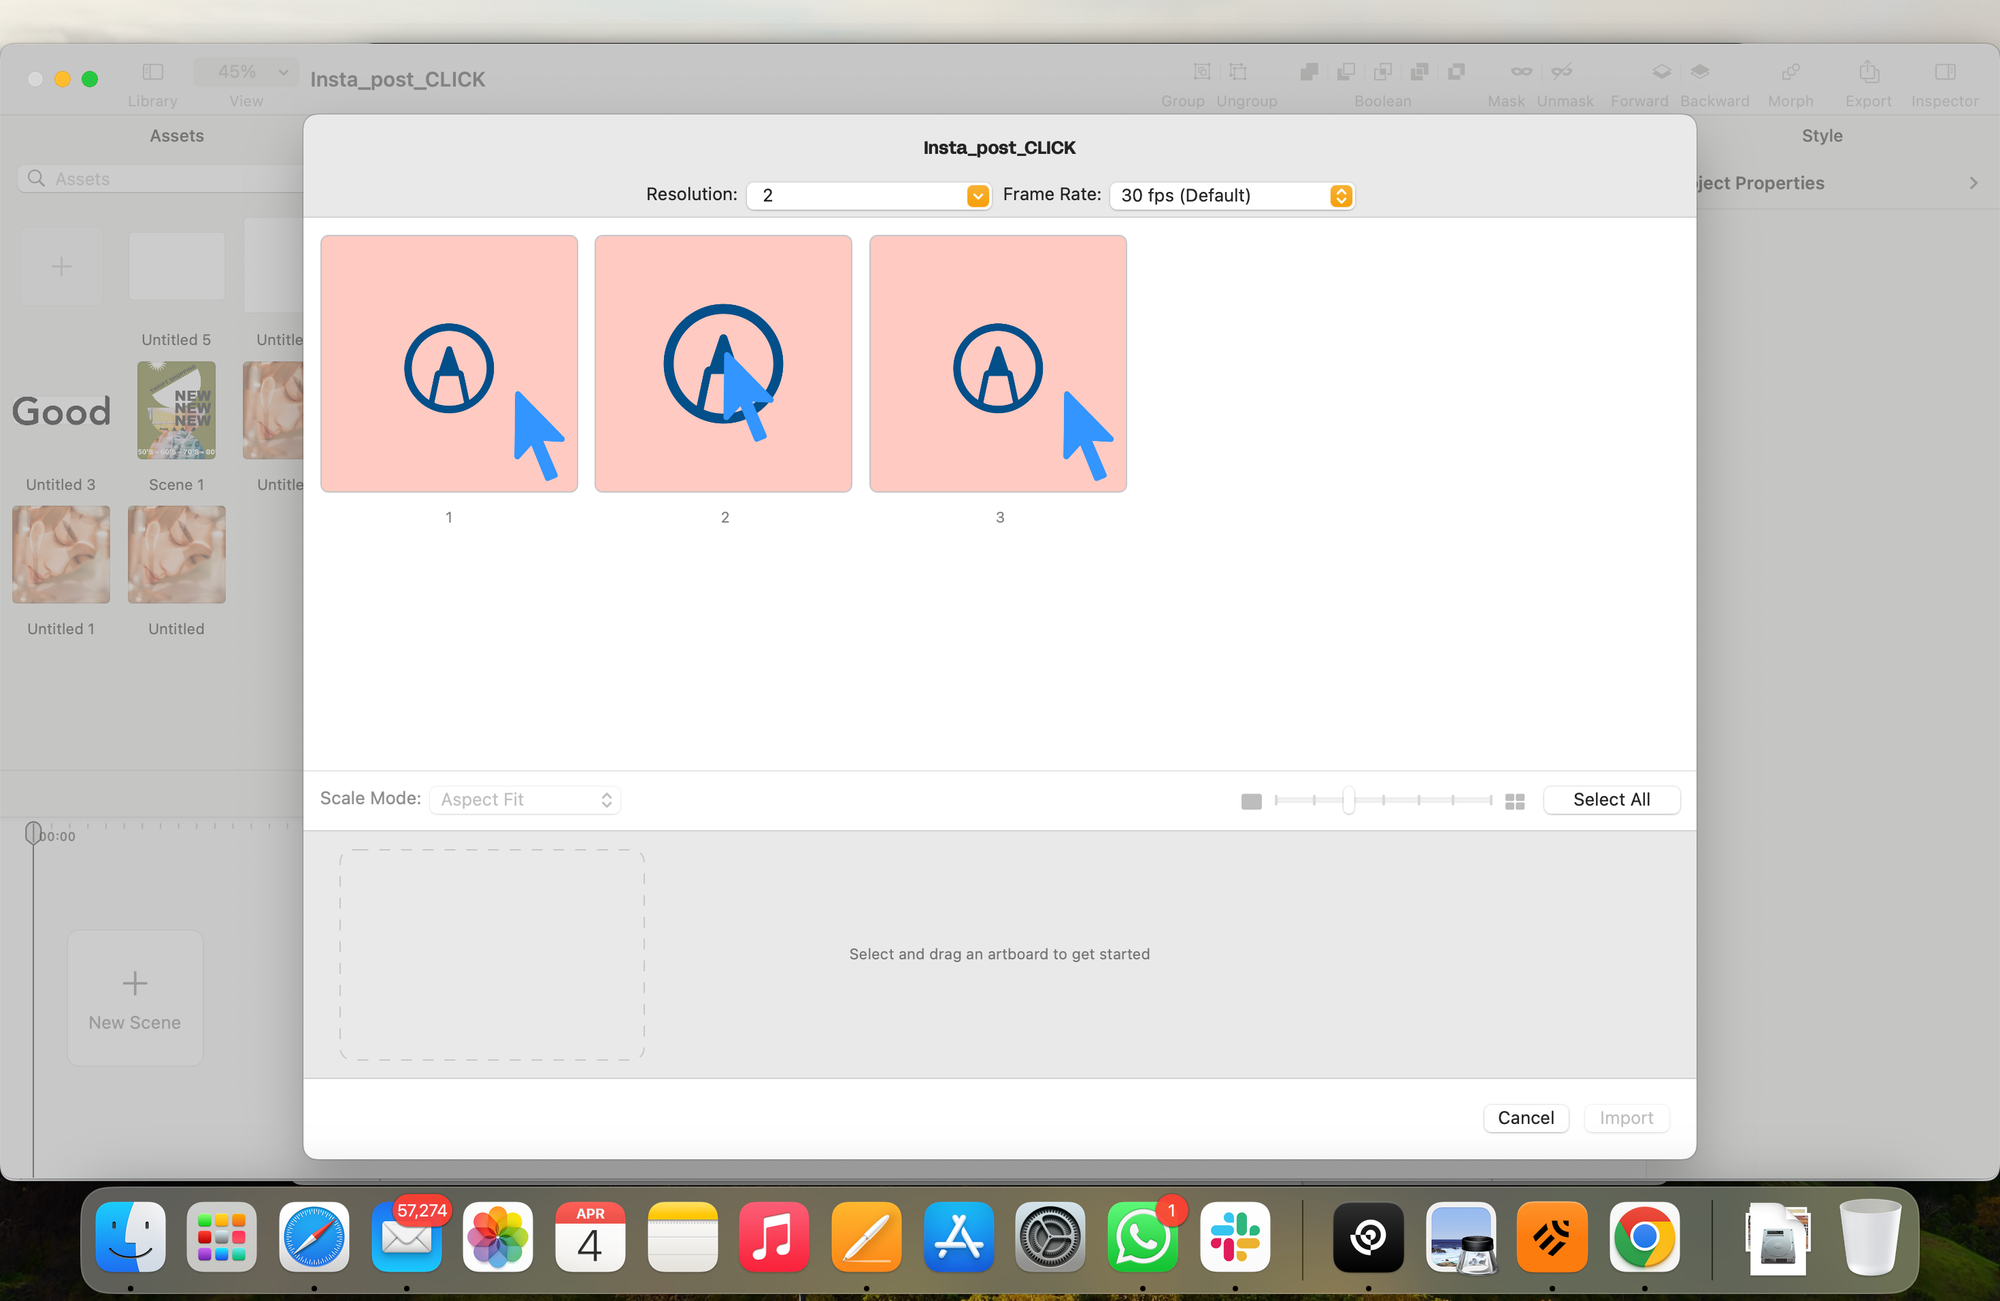
Set the Scene Length to 5 seconds, then click Import to add it to your project.
Animate your SVG
Welcome to the Linearity Move interface. After importing, you’ll get your first introduction to the power of Linearity Move.
Experience the magic of Auto Animate in action. Click the at the top center of the Timeline to play your animation and watch as Linearity's groundbreaking Auto Animate feature automatically stitches your Artboards together.
It applies various animation filters and presets to create seamless transitions between scenes and brings your text animation to life.
Refine your animation
We know Auto Animate is out-of-this-world, but powerful animations are all about the details. Explore ways to perfect the timing and engagement of your animation sequence by making the most of Linearity’s duel Animate and Design Modes.
In Animate Mode, you can adjust an object's opacity to make it fade from the screen. Animate Mode records these changes as keyframes on a timeline, which, when played back, smoothly transitions between different states of the object.
Animate Mode is the default editing mode in Linearity Move, but you can activate Animate Mode by clicking the toggle at the top left of the Timeline to switch to Animate Mode. You’ll know Animate Mode is active if the toggle at the top left of the Timeline shows “Animate” is highlighted.
We want to make our cursor icon in this animation feel more like it’s tapping the pencil icon, so we’ll use one of Linearity’s animation presets. These presets will save you a lot of time when designing your animations.
To apply a preset animation to your project, select the element of your .svg you want to animate using the Selection Tool and ensure you’ve positioned your animation into the correct keyframe position.
Then click the preset animation button you want to add from the sidebar on the left side of your interface in Linearity Move. We’ll be using the nifty Tap preset for this animation, which does exactly what it says on the box.
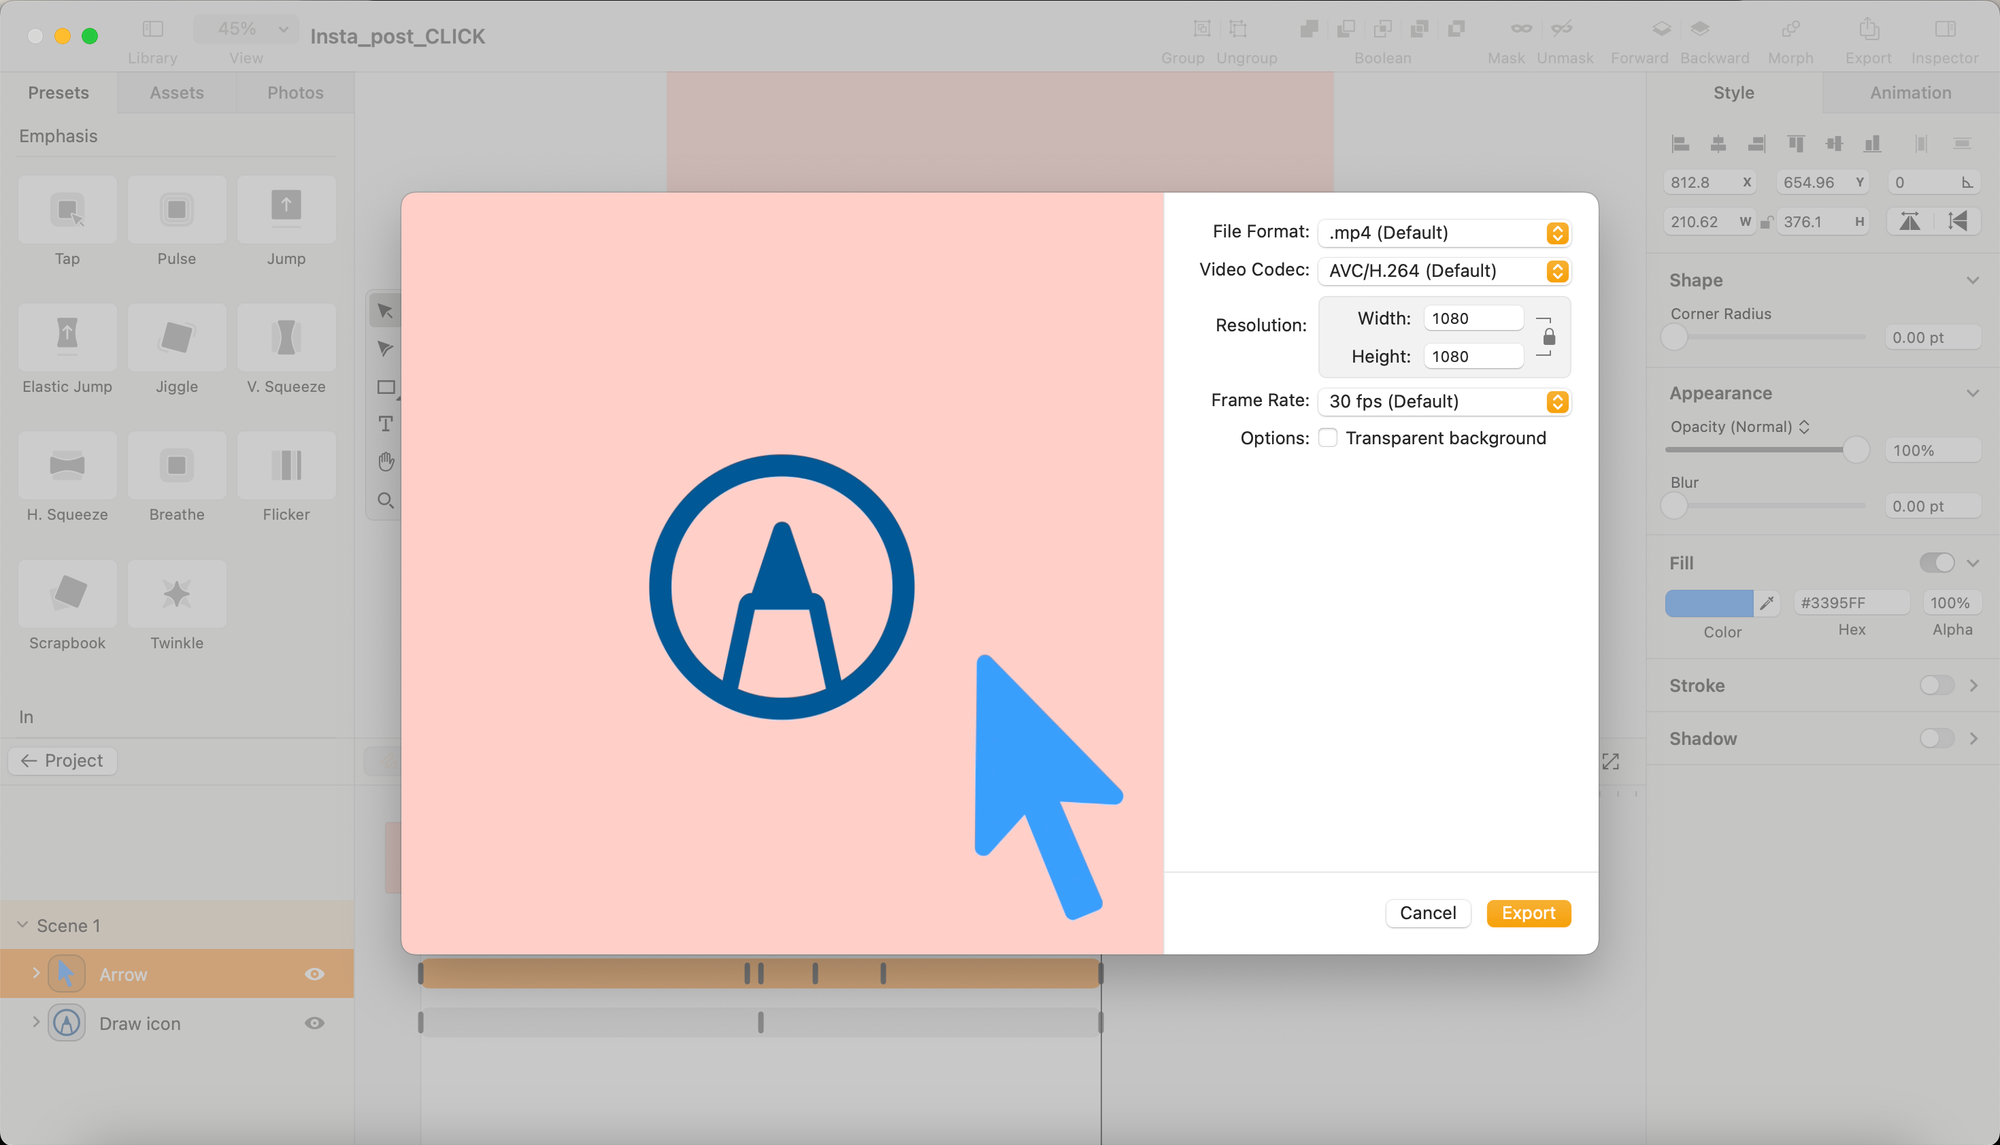
Export your SVG animation
Have a last look at your animation before we export it. Click on the Play icon in the center of your screen to see your product announcement come to life. Ensure you get your message across and that your animation transitions work smoothly.
To export your .svg animation, click on the File menu item in the Top Navigation Toolbar and select Export. You can also select the Export icon in the Top Toolbar.
Once the export modal appears, double-check your video export settings and click the Export button when you’re done.
Ready to take your SVG animations to the next level?
We've covered the essentials, from the potential to enhance user experience to the basics of bringing your .svgs to life. By now, you should have a solid foundation on why .svg animation can improve your digital game and how to implement it on your website.
The goal is to create animations that look good and serve a purpose.
As you move forward, remember the resources and tools at your disposal, like Linearity Move. Our platform is designed to make your animation process as smooth and efficient as possible. Now, you can purely focus on creativity and innovation without being limited by the complexity of technical limitations.
Don't let your designs fade into the background. Sign up for Linearity Move today and start transforming your static .svg files into stories that resonate with your audience.
Frequently asked questions
Can I animate an SVG without knowing how to code?
Yes, you can animate .svg files without any coding knowledge. Tools like Linearity Move provide a user-friendly interface that empowers you to animate .svg files using a visual editor. It eliminates the need for direct coding, allowing you to add simple animations by selecting your .svg file's vector elements.
What tools are recommended for non-coders to animate SVGs?
For non-coders, software like Linearity Move, Adobe After Effects, and other visual animation tools are recommended. These platforms offer intuitive drag-and-drop interfaces and pre-built animation effects that make the animation process accessible to everyone.
Can I make interactive SVG animations without writing code?
Yes, some tools allow you to create interactive animations by setting triggers and actions within the software. For instance, you might set an .svg element to animate on hover or click without needing to write any JavaScript.
Are there limitations to animating SVGs without coding?
While visual animation tools are powerful and continue to improve, there may be limitations to the complexity of animations you can achieve without coding. For most web and graphic design purposes, these tools offer a wide range of animation possibilities.
Share this!
Garreth van Niekerk
One of GQ's 'Young Creatives To Watch' and described as a "Creative Force" by the Sunday Times, author, designer and marketer Garreth van Niekerk is a contributor for Linearity in Johannesburg.